Futurama ESRGAN model Training

It’s Futurama season, with a new series coming out on Hulu. I’ve been going back through the original series, but noticed drama online with the early standard definition run being replaced with upscaled versions on streaming sites. Some claim that fan made ‘AI upscale’ releases are even better.
The Disney plates don’t look as good, and is filled with interlacing issues. A problem streaming sites have always apparently had. Somehow. They also have been encoded in widescreen with black side bars 🤮. Even the fan version has interlacing and frame pacing problems. I have no idea how either were made, but I’d like to give it a swing and learn the hard way. I’ve got original DVDs near perfectly deinterlaced with ffmpeg’s neural network edge directed interpolation to work off, so a better starting point might give better results.
My guess is that both were created with some derivative of ESRGAN, with some googling leading to a database of community made models. Some of these are trained for specific shows, mostly animated, mostly TMNT and DBZ. What if I trained my own Futurama model?
The later seasons on Comedy Central were 1080p and released on bluray. I’ve got both DVD and Bluray versions of all 52 episodes. Surely sampling images from both would give an excellent DVD -> Bluray 2x up scaling training set.
So we are gonna need two folders of images, hr/, the high resolution “ground truth”, and lr/, the low resolution boys. Each pair is matched up by having the same filename.
Do we even need DVD copies?#
Most upscaling datasets don’t have the ’luxury’ of having distinct sources for the scales. Most will have high res and batch downscale to generate the low res versions.
imagemagick can be used to half the res of the bluray images.
convert hr/frame.png -scale 50% lr/frame.png
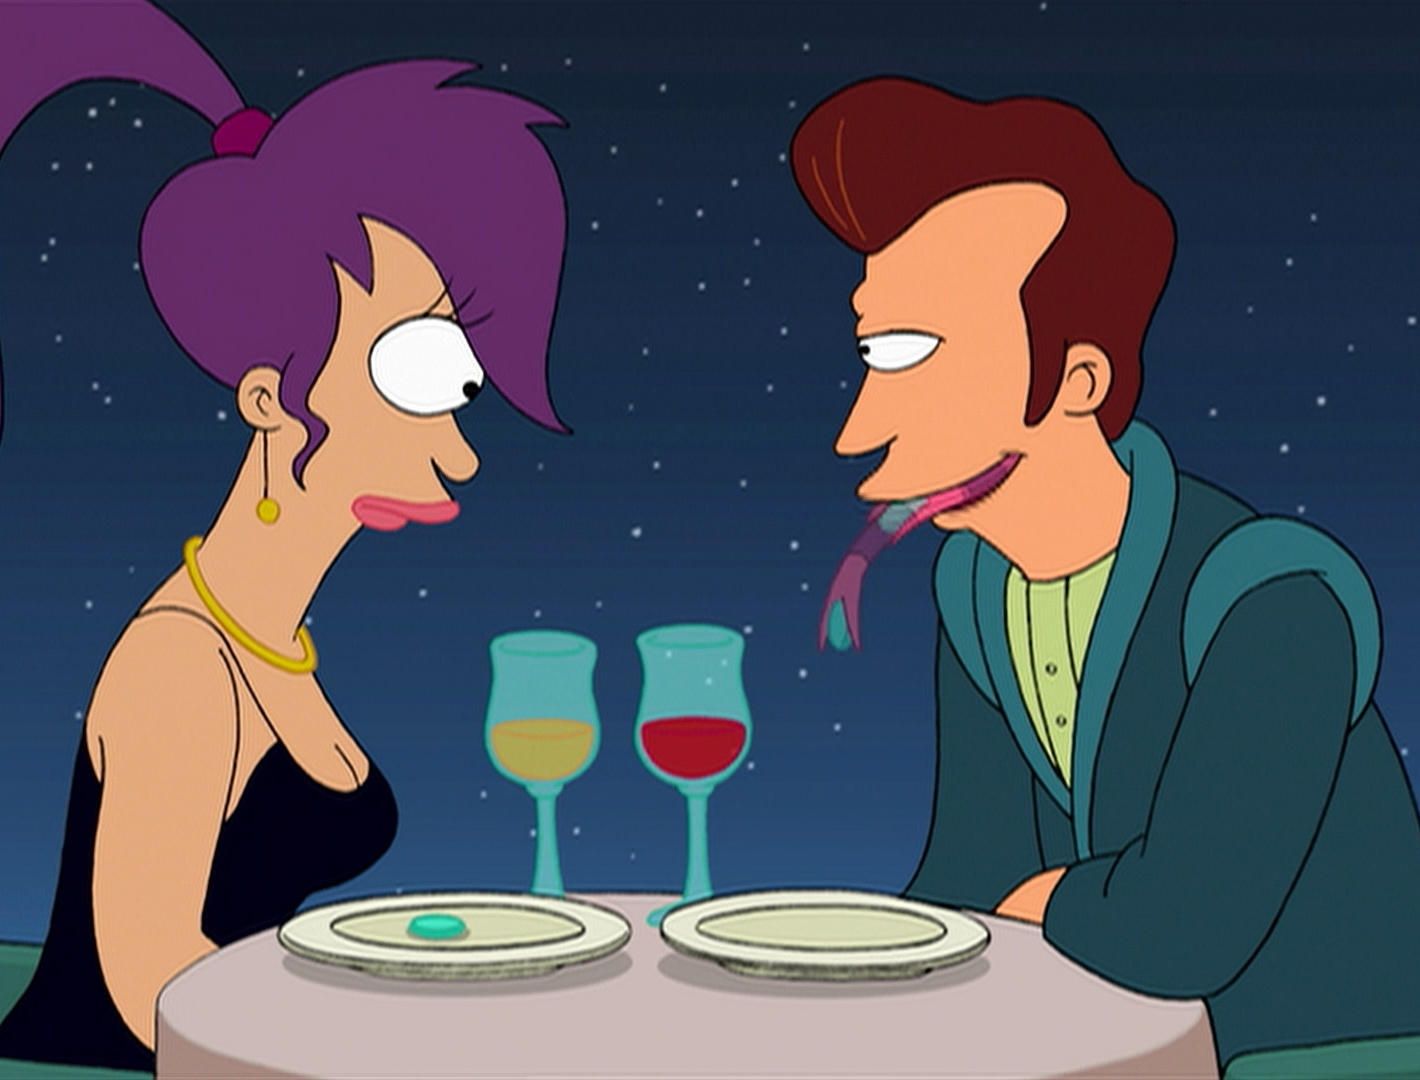
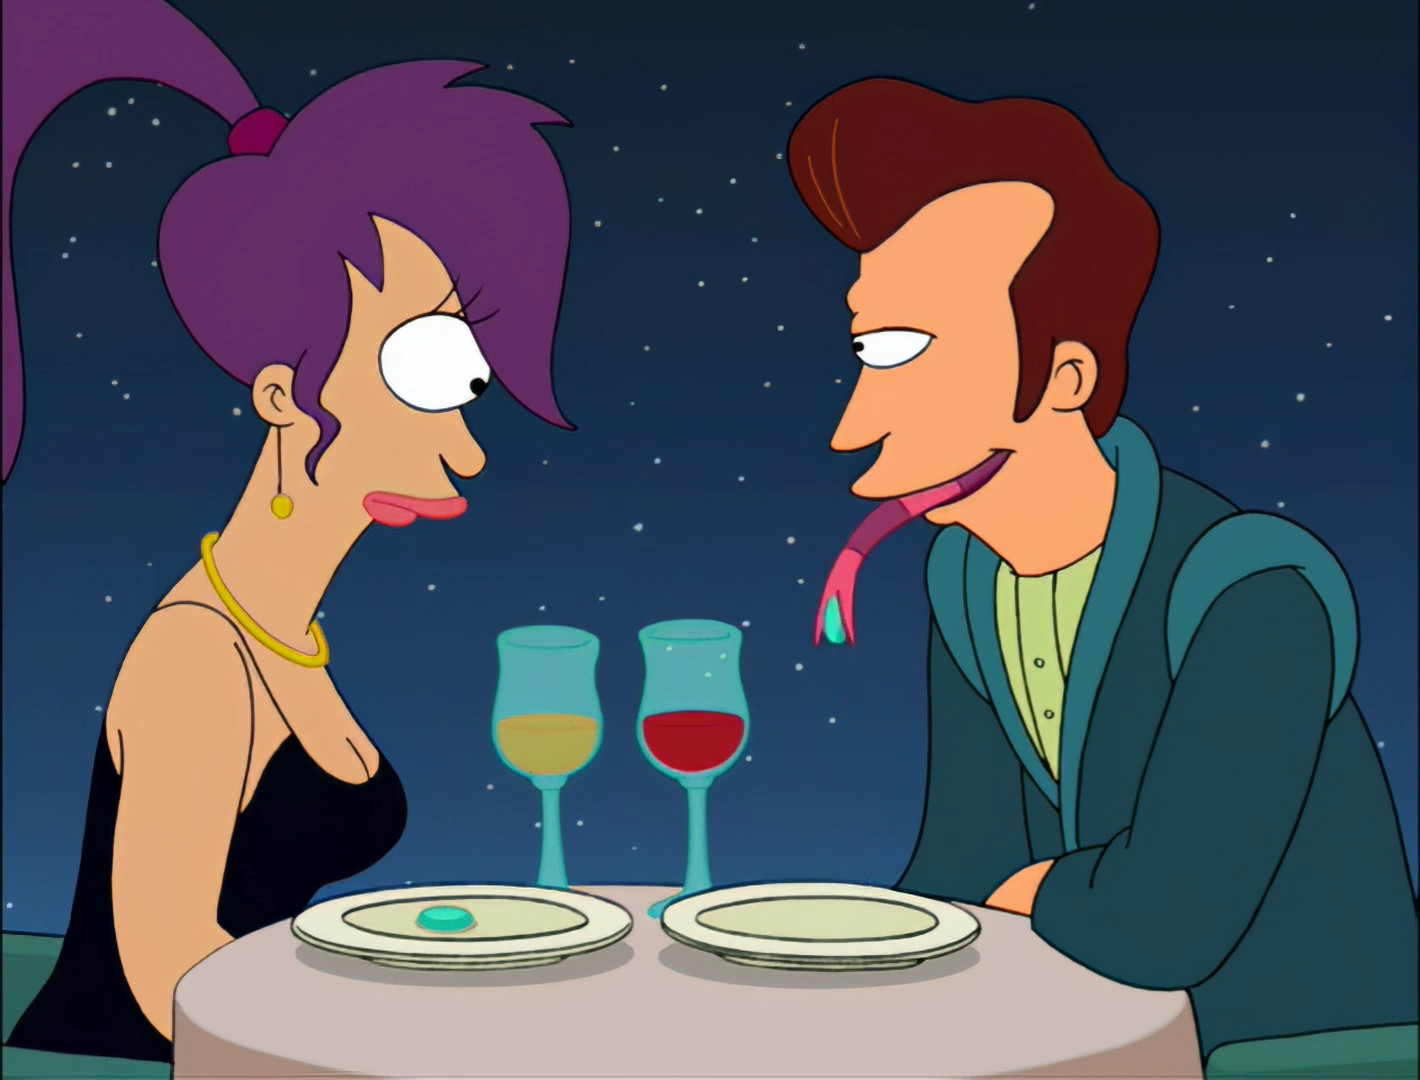
Compare the DVD (left) vs the downscaled bluray (right):

The halved bluray gives a cleaner image despite the slightly lower resolution. It’s all of that DVD fuzz and crunch that I’m hoping the model will learn more from, making this entire endeavour worth the effort.
Grab them frames#
I reach for ffmpeg to help turn these videos into images, despite always struggling with it’s command syntax.
ffmpeg -i DVDs/H1_t06.mkv -f image2 lr/S06E16-%03d.png
The %03d tells ffmpeg to name the outputted PNGs numerically with three digits. 06E16-001.png, 06E16-002.png… Thankfully if it runs out of digits it will just add more as needed, but that will make sorting the images alphabetically no longer also be numerical order.
The output would be in the DVD native 4:3 resolution, 720x576. But these are meant to be viewed in widescreen, so we have to scale the width by the SAR, because stack overflow said so.
ffmpeg -i DVDs/H1_t06.mkv -vf 'scale=(iw*sar):ih' -f image2 lr/S06E16-%03d.png
Now we get better looking 1024x576 images. Except…
We have to scale the images at some point#
Problemo, the ESRGAN scales are integer multiples. Can you do fractions? I don’t know? Probably not? This is a slight issue since my PAL DVDs are 576p, (2x is 1152p), while the blurays are 1080p (÷2 is 520p). Should I downscale the DVDs or upscale the blurays to get a clean 2x multiple?
I flipped a doge coin and went with downscaling the DVDs to 540p.
ffmpeg -i DVDs/H1_t06.mkv -vf 'scale=(iw*sar)*0.9375:ih*0.9375'
-f image2 S06E16-%03d.png
Now we’ve got 960x540 images, neatly half of the 1920x1080 images.
Too many frames#
We don’t want every frame though. I’m thinking one for each shot will suffice, surely? Will ESRGAN learn much from 100 images that are 95% identical? Probably not?
First thought is to just grab the keyframes, but DVD’s MPEG2 encoding isn’t smart enough to use keyframes for shot changes, they are just sprinkled around everywhere. That would make it very difficult to match up with the bluray copies.
Instead I figure sampling at a fixed time rate will give a decent variety of samples, and be consistent to apply to both copies. Using -r 0.1 will set the output to 0.1 frames per second, aka 10 seconds per frame. One image per 10 seconds will give ~126 frames per episode, that’s 6,552 from all two seasons. That should give a decent training set, considering the original ESGRAN paper used a dataset of 800 images.
So we can start to run our ffmpeg commands on both copies:
ffmpeg -i DVDs/H1_t06.mkv -vf 'scale=(iw*sar)*0.9375:ih*0.9375' -r 0.1
-f image2 lr/S06E16-%03d.png

ffmpeg -i BRs/S06E16.mkv -r 0.1 -f image2 hr/S06E16-%03dH.png
I don’t know why, but this is very slow. Especially the bluray, a 20 minute episode would take 10 minutes to run. When continuing to fine tune settings, I started using -t 00:01:00 to only get the first 6 frames to check they were lining up.
Different frame rates!#
Whoa there partner, these frames don’t line up! The bluray is 23.976fps while the PAL DVDs are 25fps! Every 10 seconds, the DVD has gone through more frames. We’ll need to grab frames from the bluray every 10 seconds plus a little bit. Instead of doing the math, I already knew from converting PAL audio to NTSC that running it at 0.959040959040959 speed would match it. Since we are doing 0.1fps, I moved the decimal place to 0.0959040959040959.
It may seem slower since its a lower number but remember that means a longer time between frames.
ffmpeg -i DVDs/H1_t06.mkv -vf 'scale=iw*0.9375:ih*0.9375' -r 0.1
-f image2 lr/S06E16-%03d.png

ffmpeg -i BRs/S06E16.mkv -r 0.0959040959040959 -f image2 hr/S06E16-%03dH.png
Now both are sampling frames at the same rate of frames. Every frame perfectly matched from both sources. This was enough for most episodes, but some had a different length pause before the episode, requiring to start at an offset -ss 00:00:00.05, a fraction of a second.
ffmpeg -ss 00:00:00.1 -i DVDs/H1_t06.mkv -vf 'scale=iw*0.9375:ih*0.9375'
-r 0.1 -f image2 lr/S06E16-%03d.png

ffmpeg -ss 00:00:00.05 -i BRs/S06E16.mkv -r 0.0959040959040959
-f image2 hr/S06E16-%03dH.png
They both have start time offsets because trial and error is fun.
Lining em up#
Further into trial and error, It appeared the DVDs have a single pixel black bar on the frame. Since even in the year 2011 DVD authoring is an artisan craft performed by hand on analog machines, this bar is sometimes at the bottom, sometimes on the top. At least it appears to be consistent per episode. The first comparison has the misalignment with the DVD one pixel higher than the bluray.
Episodes with a top bar line up with the Bluray, while episodes with the bar at the bottom need some filtering hijinks to move down the image one pixel. We crop off the bottom row, then pad the top with a single row of black pixels.
-vf 'crop=960:539:0:0, pad=960:540:0:1:black'
# Complete command
ffmpeg -i DVDs/H1_t06.mkv -vf 'scale=iw*0.9375:ih*0.9375, crop=960:539:0:0,
pad=960:540:0:1:black' -r 0.1 -f image2 lr/S06E16-%03d.png

Let the training begin#
So after way too much effort, I’ve got a dataset of 3,684 image pairs, because it was time for sleep and I could kick off the training and check the outcome in the morning.
I ended up deleting pairs from the intro and credits, since they were identical each episode.
Thank god for upscale.wiki, which gives some basic advice. They suggest victorca25’s traiNNer to perform the training with. It’s got everything needed, except for a base pretrained model to start from, which you can find in this rando Google drive.
To train our new model, we’re gonna use the train_sr.yml config and place ours in the correct folder.
cp traiNNer/codes/options/sr/train_sr.yml
traiNNer/codes/options/train/2xFuturama.yml
I used most of the defaults, with the following edits:
name: 2xFuturama
...
scale: 2
...
datasets:
  train:
    dataroot_HR: [
      '/media/HDD/hr'
      ] # high resolution / ground truth images
    dataroot_LR: [
      '/media/HDD/lr'
      ] # low resolution images
    n_workers: 6
    batch_size: 8
    crop_size: 192
...
  val:
    name: val_set14_part
    mode: aligned
    dataroot_B: '/media/HDD/val/hr'
    dataroot_A: '/media/HDD/val/lr'
I chucked all images ending in *050.png into the validation folders. These won’t be used for training, instead every 5,000 iterations the scaling model will run on them and output saved, so you and traNNer can see the model improving/performing as the training runs. This probably improves training results? I can follow the python code but once we tell pytorch to do something I have no idea what’s going on in there.
I upped the crop_size from 128 to 192, since the ESRGAN paper noted improvements from doing so. n_workers is the number of cores for my CPU, and batch_size is how many samples are run at the same time. upscale.wiki claims improvements with higher batch_size, so I went up to 8 that my 12GB VRAM could handle. You’ll immediately face the dreaded CUDA out of memory error if you ask too much of your GPU.
There’s probably an ideal balance between the sample resolution vs number per batch, but who knows until you try.
Now we can kick off the trainer, specifying the config and making sure to be in the traiNNer/codes/ folder:
cd traiNNer/codes/
python3 train.py -opt 2xFuturama.yml
How’d it go?#
For new frames from the same DVDs, it works really well.

It even worked well quickly, here’s the same upscale at 5,000 iterations (~half an hour) vs 80,000 (~8 hours)
The biggest difference between iteration numbers is the colours. It seems the slight difference in saturation/colour space between the DVD and Bluray copies left it switching colours around. Maybe I should have adjusted them to match better in the training data?
But what about when we use the model on frames from the original SD series?


😞 Pretty disappointing. Zoomed in and cropped to see the details. The lines end up poorly defined.
Just for fun, here’s the model run on a real life photograph by David Selbert.


It looks worse, but doesn’t completely mess up the image.
How to make it better?#
It seems the original run is drawn differently than the later seasons. Between being made for standard definition, along with different artists and techniques, the newer seasons are overal cleaner with finer linework. Likely I’m falling into the classic deep learning rookie mistake of overfitting, with the model working great with the training data but not applying well to different input.
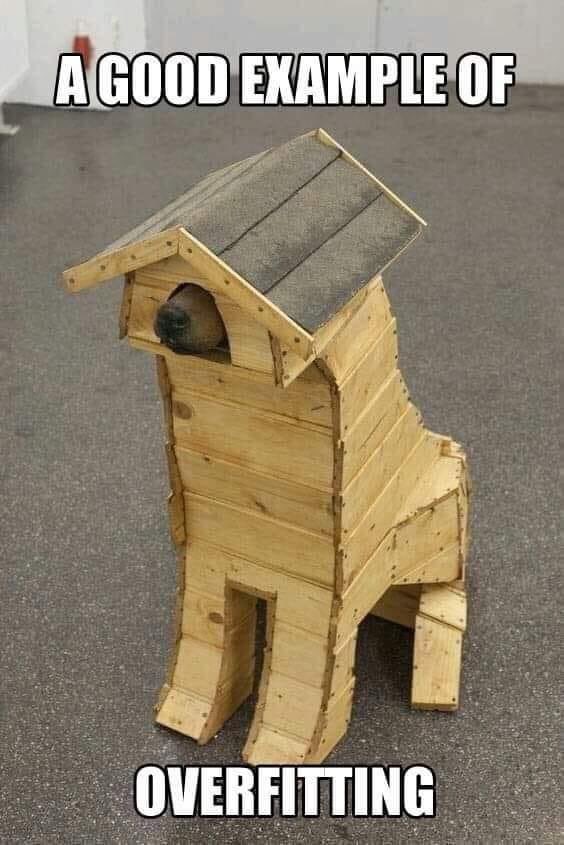
A perfect house for this one dog but won’t work well for any other pup.
I’ve got a few options.
- Keep training the model for more iterations. Most models go into the 100,000s of iterations.
- Use frames from the original runs in the training data. The intro and some flashback scenes could have similar frames. The number of images would be limited, but I’ve seen results with as few as 4 images.1
- At least include some original run frames in the validation dataset.
- If using just intro and flashback shots, the new Hulu 4k episodes could be used to train a 4x scaling model…
- The ESRGAN models and tools I’ve been using are now considered the ‘old’ way, newer tools and models may work better.
- Just use a pretrained model. All of the models I’ve tried give terrible results, nothing like the disney or fan made versions. That would be less fun though.
Vote on your choice with a small prayer to the AI gods and I’ll get back with the results.
-
Kim2091’s 1x_SheeepIt! model for the show Sheeep used only 4 image pairs and 8.8k iterations. Still managed to clean up the image while retaining the show’s grain. ↩︎
Comment
- Username, 2026-01-27