Turning a Facebook Conversation into a Printed Book
My girlfriend and I almost exclusively communicate online over Facebook chat, so for our anniversary I thought it would be sweet to have some cherished moments printed into a book to keep forever. I found bookbaby which can print a single book for US$19 (I’m not being paid to advertise them, promise) and decided to give it a go.
After looking through our first messages, I found the process of reading through the whole chat history, good and bad, quite enjoyable. So I decided to create an unedited book of our early chat history. It spans from our first messages to six months into our relationship, capturing the process of us getting to know each other and falling in love.
But how to transform a Facebook chat log into a book? Facebook doesn’t have an official API for messenger, and while they offer the ability to download ‘all’ of your data in a zip file, I’ve heard that the chat logs included are incomplete. I can only trust other people’s experience since the feature refused to work for me.
Downloading the Chat Log#
So to download the messages I opened the touch mobile web version of messenger and entered the following javascript in Firefox’s developer console
setInterval(function () {
    document.getElementById('see_older')
    .getElementsByClassName('content')[0].click();
}, 500);
(Not sure who exactly created the above code, it’s been copy-pasted a lot on Stack Overflow)
That will keep clicking the ‘load older messages’ button until you get to the top of the the conversation. In my case this took around 8 hours. (I told you we only chat on Facebook messenger)
Now we have a complete chat history in a fairly simple, single web page. You can now use your web browser’s ‘save as’ dialog to save the page to your computer. Make sure you save it as a ‘complete’ page, so that all the pictures and linked content is also kept. Now you should have an offline copy of the page, with a folder of all the pictures in the page.
The Photos#
Before worrying about the text, let’s make sure we have the highest resolution pictures to work off. Bookbaby demand images to be 300dpi, which would mean all our thumbnail photos and gifs made for mobile screens are going to be too tiny. The emoji from the page are only 16×16 pixels, so I used emojipedia to get higher resolution 160×160 versions of the emojis. Overwriting each, making sure the filename is the same is all that’s needed to cleanly upscale all the pictures/emoji. For the stickers the best I could find were at sticker motion, but they were still only 180×180.
For the photos, I ended up manually clicking each, clicking ‘download original’ then overwriting the larger downloaded picture in the pictures folder. This took around 30 minutes and wasn’t great fun but I didn’t have enough images for me to bother automating it.
For the gifs, I did the same except that for some I would open in photoshop, select a frame that gave the best gist of the gif, then save it as a png. This also took ages 🙁
I wasn’t done, since many of my pictures were still not high enough of a resolution to reach 300dpi at the sizes that I wanted. I used photoshop to batch resize all of the pictures by 4x (400%). I was forced to do this since Adobe Acrobat can only shrink pictures down. It refuses to blow images up and sacrifice quality. So instead I made them all huge, then let Acrobat scale back down to 300dpi later. I hope you’re happy Adobe. It did make my already huge webpage even bigger. 86MB to over 700MB!
The stickers were a special case that I only resized to 300×300 pixels, knowing that I would be having them all at 1 inch wide.
The Text#
So now I had a 40MB html file and 700MB of pictures that I needed to turn into a pdf file to send to the book printers. Sadly I couldn’t just press print in the web browser and use the print to pdf option in windows. It didn’t give me enough control over the formatting. Selecting all then copy-pasting into Word simply crashed Word. Only something like Sublime Text can even open the html file without crashing. So I’m just going to use python to parse the text.
At this point I wrote a python script to parse the html file. For some reason I thought I’d be easier to do it myself line by line, instead of using something like Beautiful Soup. Do not do this! It is way harder and remains my greatest regret in life.
Here comes my second not-great decision; using Word to format and export the book. I chose Word because I knew how to use it mostly and there is a useful python library called python-docx for creating and modifying Word files. After A LOT of tinkering I ended up with a script to convert my html file into a nicely formatted Word file.
The script took in the docx template file from book baby and spat out a 700MB docx file which my PC could barely open. Not sure if it was necessary but I also disabled image compression and told Word to use the highest DPI available.
Now at least the hard work was done by the script. I had the entire conversation in a 2 column table, with the speaker’s name in the left and text on the right, images all inline and sized correctly. Each new day has the date as a title in a merged row. I could format the text, names and dates separately using paragraph styles in Word.
Exporting the PDF#
Book baby wanted the book as a pdf with very particular formatting. The page size and margins must be exactly correct, images must be 300dpi and in their CMYK calibration.
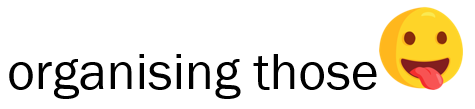
At first I thought Adobe’s official Acrobat Word pdf exporter plugin would do everything I needed. Unfortunately no matter what I tried, it would destroy the quality of all the images. This was most notable on the emojis. Here’s one in the word document:
and here’s what Adobe spat out:

As you can see, adobe decided a serif font was more appropriate and completely fucked up all of the emojis. No matter what export settings I used I got the same results.
When using Microsoft’s inbuilt pdf printer, I got much better results:
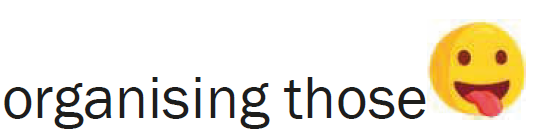
It’s not perfect but you have to remember that this is at 4x zoom and even at 300dpi the emoji are only going to be 66 pixels wide at the size I chose.
The problem with microsoft’s pdf printer was that it would change the page to A4, instead of respecting the custom page size set in Word.
I had to follow these instructions to allow custom page sizes (Basically edit the driver files to allow custom sizes then add the custom size using the printer’s properties GUI).
Formatting the PDF#
Now I had a 300MB pdf with high resolution pictures and correct page size. The final step was to use Adobe Acrobat to scale down all the images to a uniform 300dpi and convert their colours to CMYK for printing.
I used preflight’s PDF analysis to check the details of the images:
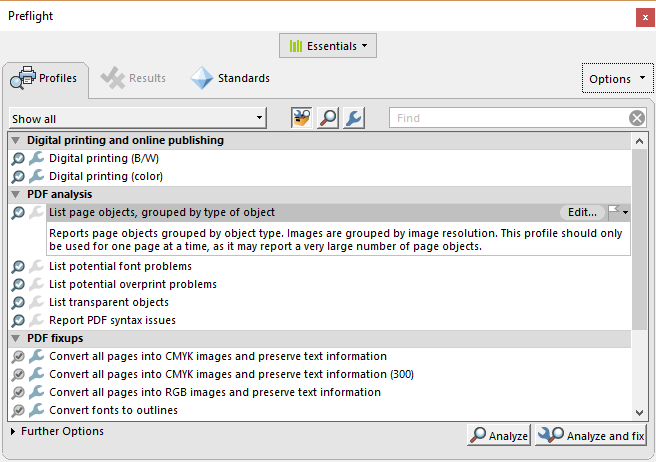
This confirmed that all the images were anywhere between 300 and 4000dpi and in RGB.
A rookie move would be to use the ‘Convert all pages into CMYK..’ but that simply takes a screenshot of each page and converts the entire image to CMYK. In classic Adobe fashion the result looks garbage.
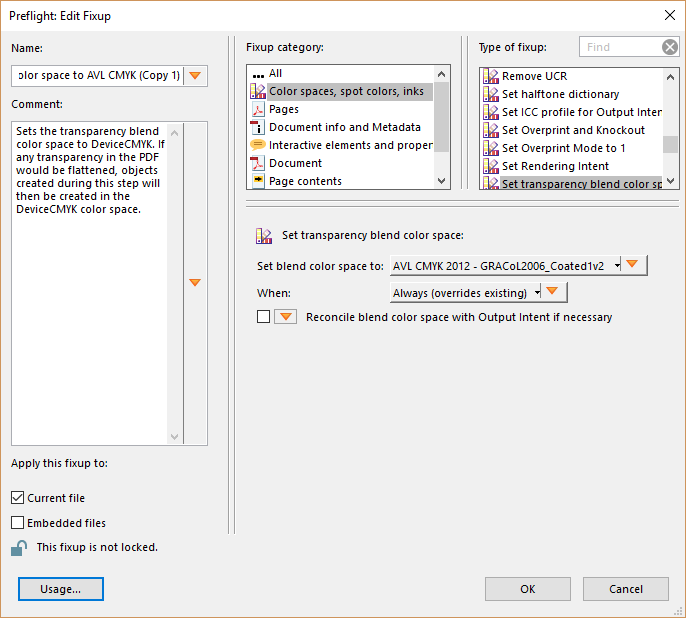
Instead I made a copy of the ‘Digital printing (color)’ profile. Making sure that it scaled down all images to 300dpi and converted to CMYK using the exact CMYK calibration file I downloaded from bookbaby’s website:
A quick run of ‘list page objects’ confirmed that the outputted pdf looked great and was up to bookbaby’s specifications.
The Book#
Finally after two weeks the book arrived and it was thicker than I could have imaged.
Comment
- Username, 2026-01-27